Pixels and the cookie bar
Just enter the pixel ID, and product view, checkout and purchase events are sent automatically after the customer consents.
In this article (3)
1Pixel ID
Where?Settings›Pixels›Pixels and tracking
Enter the ID for each platform you use.
Picture from a demo dashboard
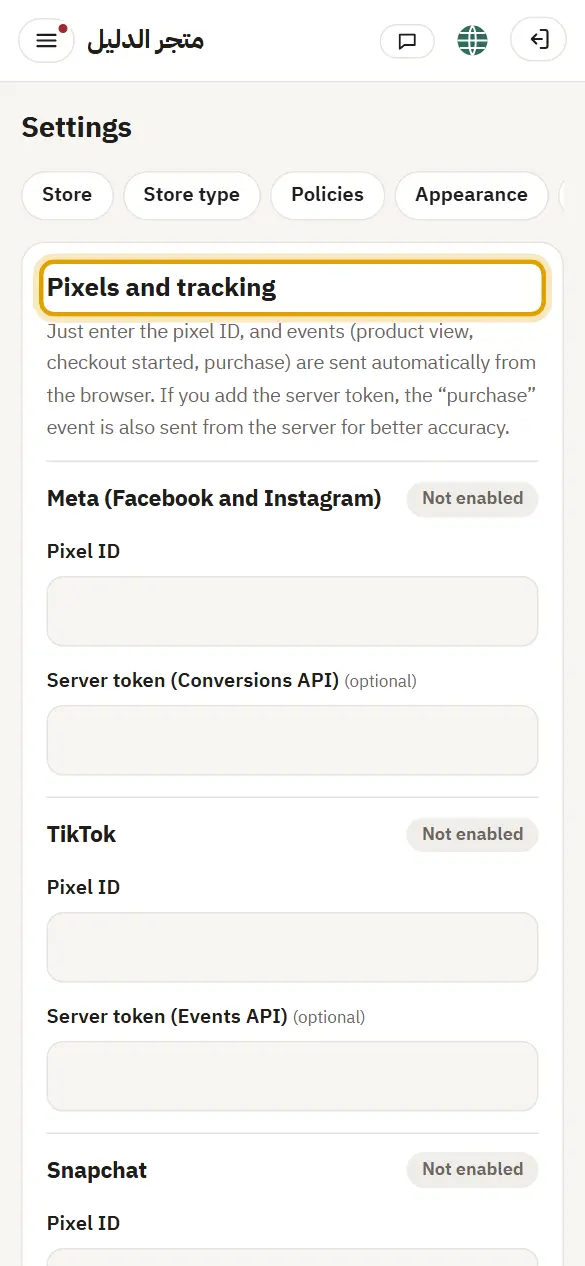
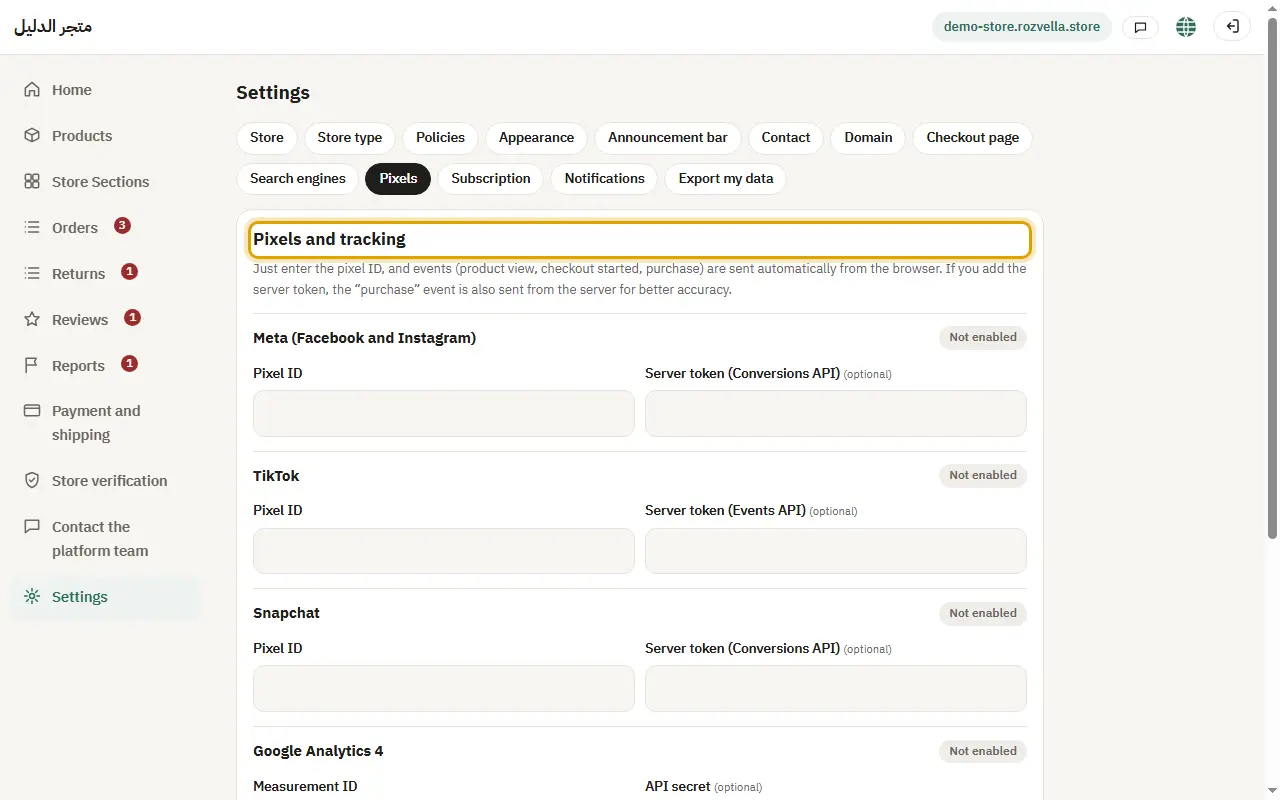
What happens?“Enabled” appears next to the platform after saving.
2Server token (optional)
Where?Settings›Pixels›Send test event
Add the server token to also send a “Purchase” event from the server. After saving, press “Send a test event”.
Picture from a demo dashboard
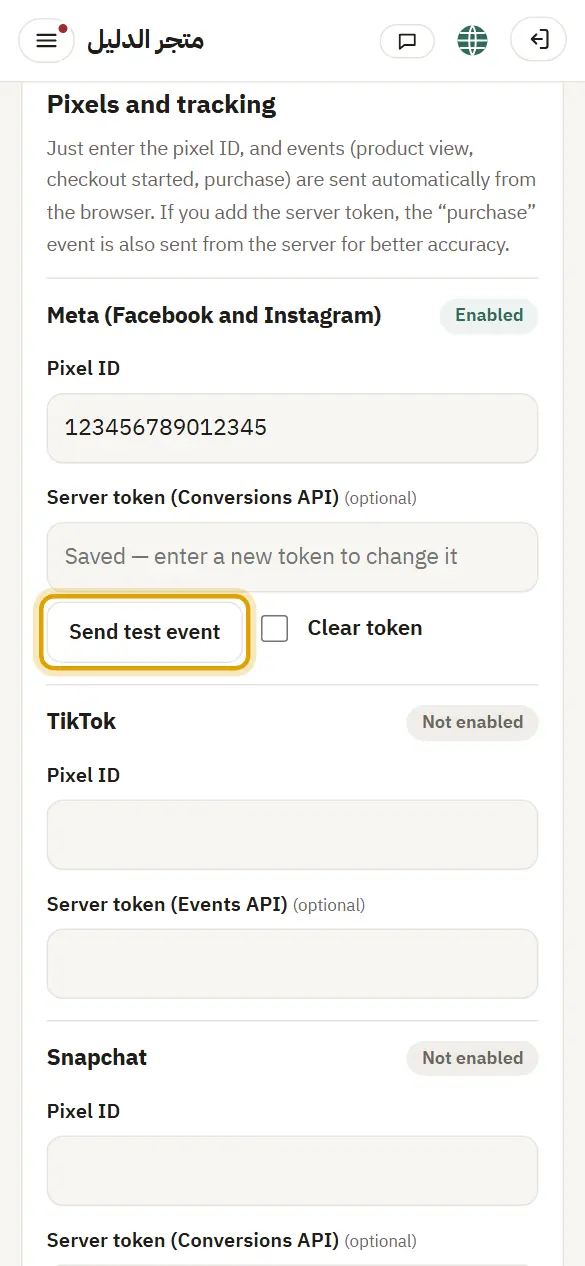
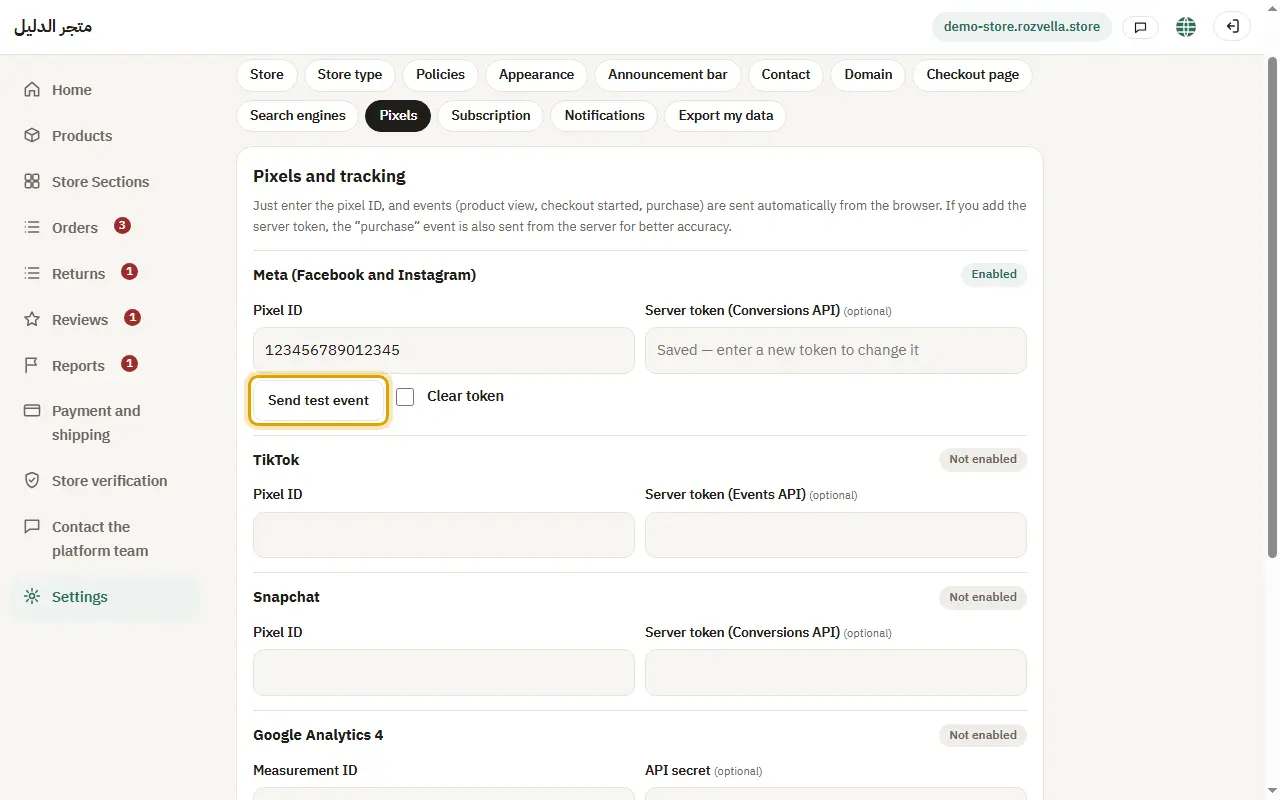
What happens?The token is stored encrypted and never shown again.
3Declaration and the cookie bar
Where?Settings›Pixels›Cookie consent bar
Tick the declaration, then press “Save”.
Picture from a demo dashboard
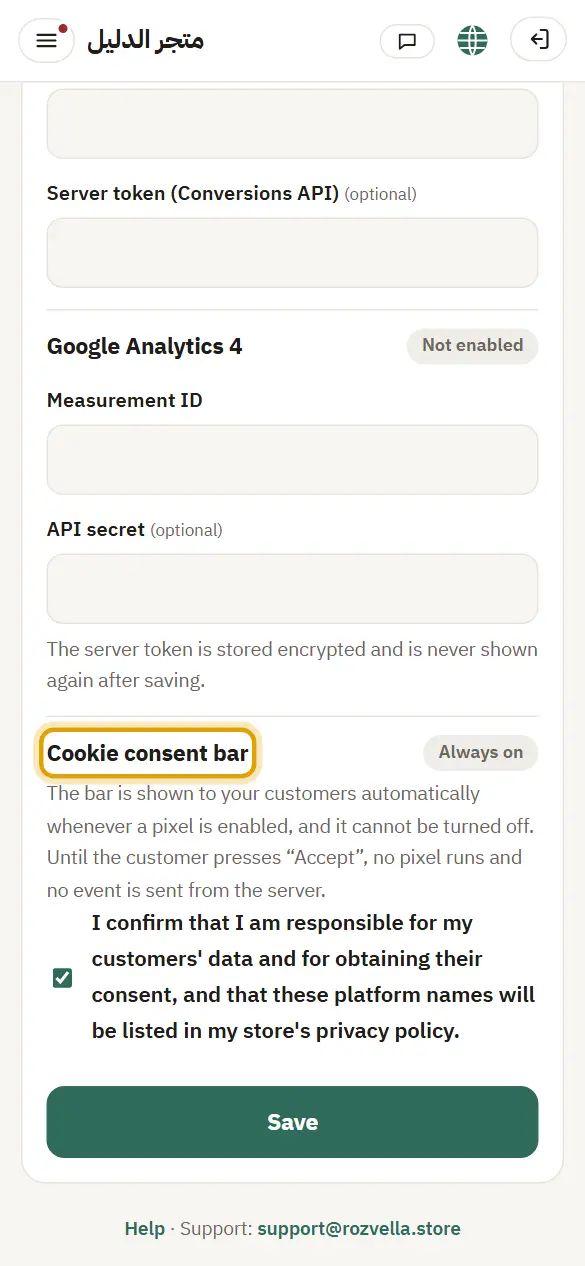
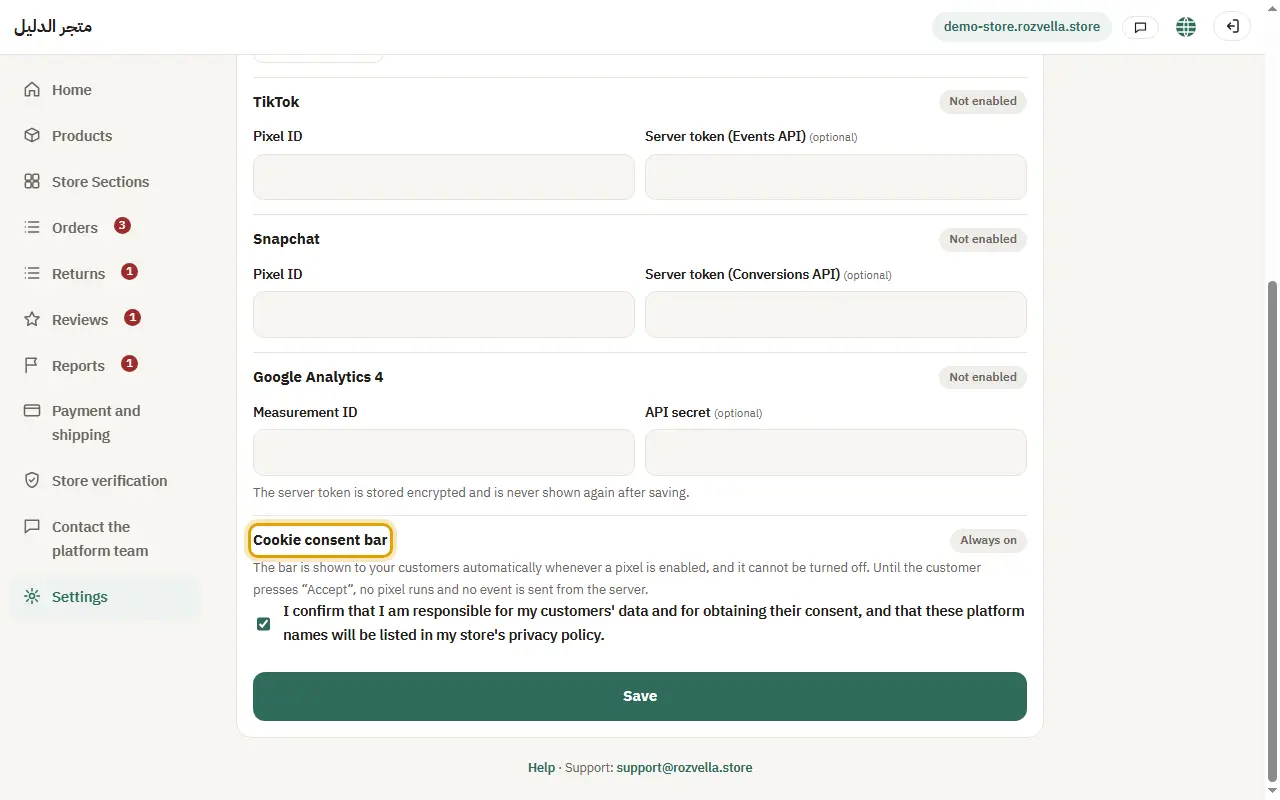
What happens?Your customers see a consent bar, and no pixel runs before the customer presses “Accept”.
Common problems and fixes“Tick the declaration first”
No pixel is saved without the declaration.