Store verification
Verification reassures your customers. ID photos are stored encrypted and are seen only by the review team.
1Confirm your email
Where?Store verification›Send confirmation link
If your email isn't confirmed, press “Send the confirmation link”, then press the link in the email.
Picture from a demo dashboard
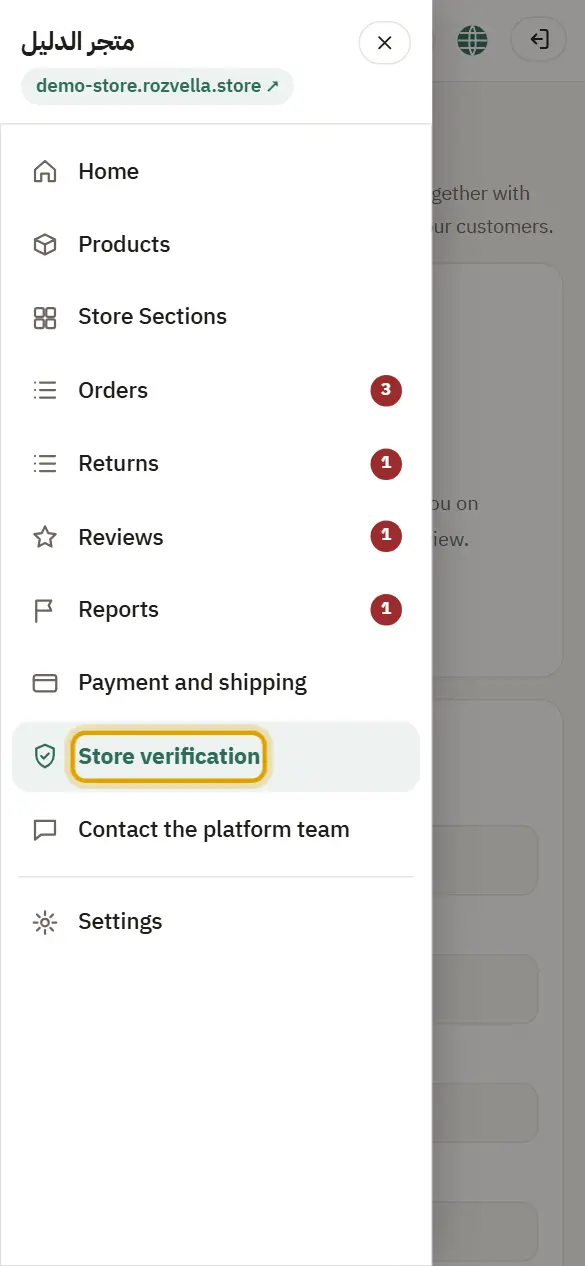
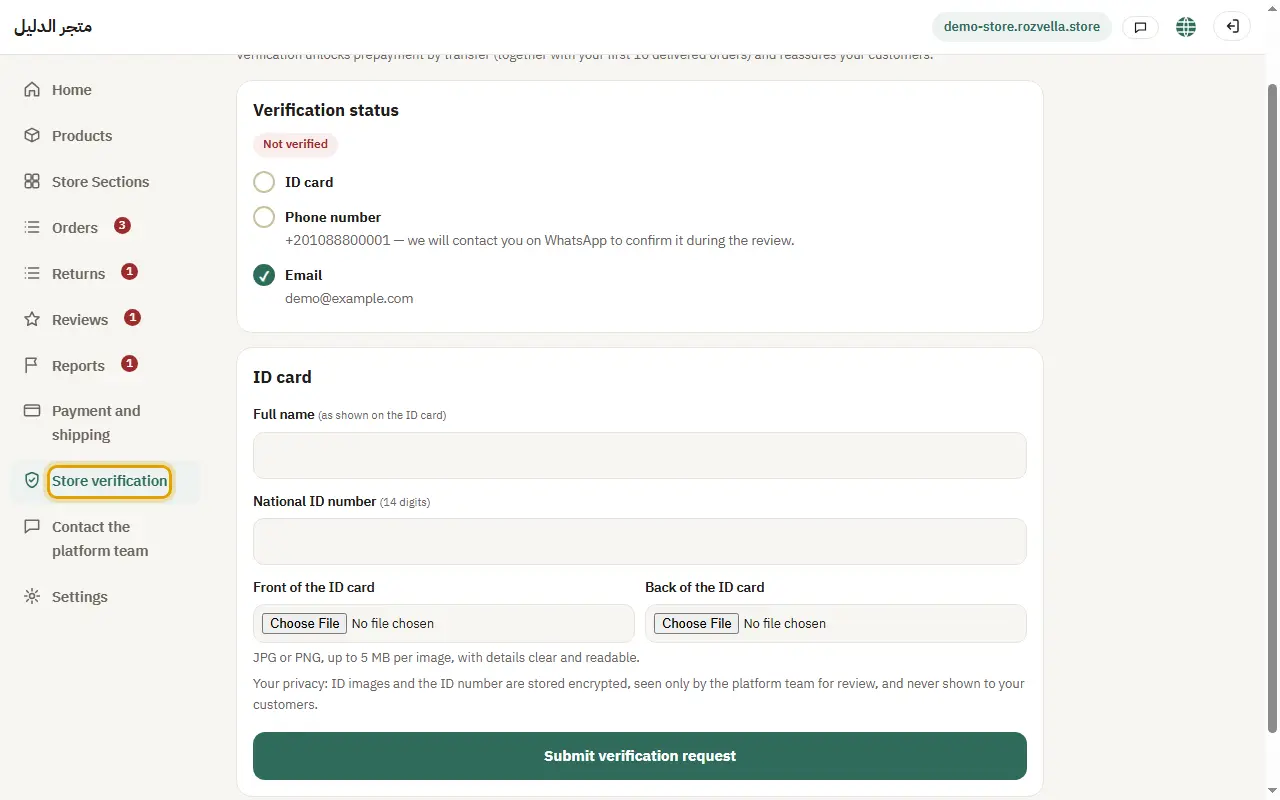
What happens?Your email shows as confirmed on the verification page.
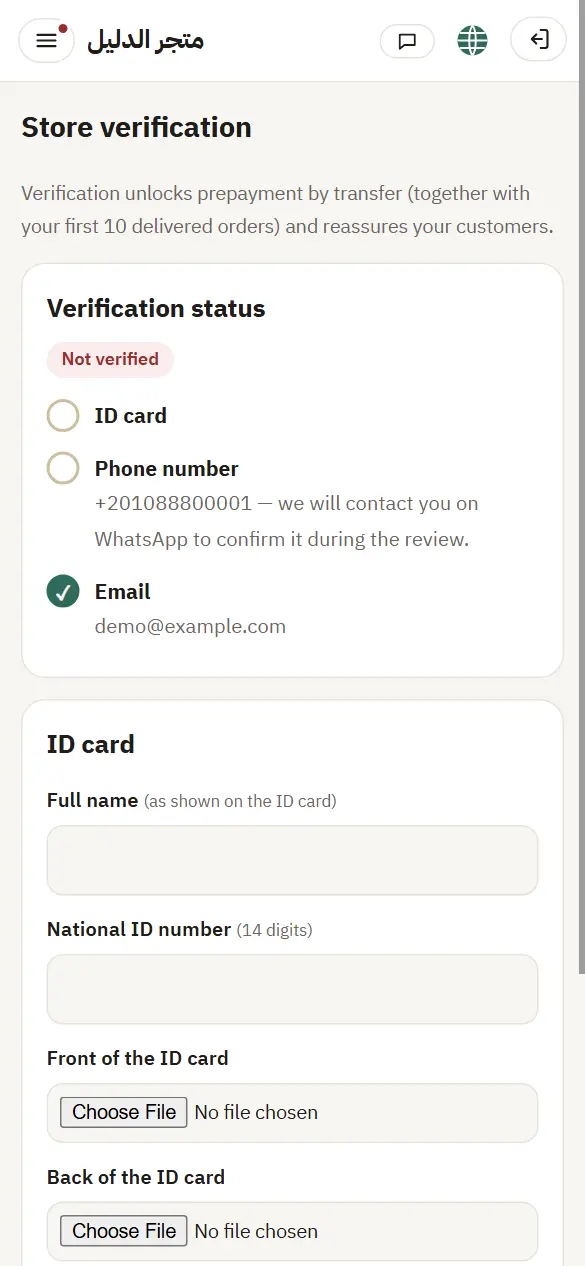
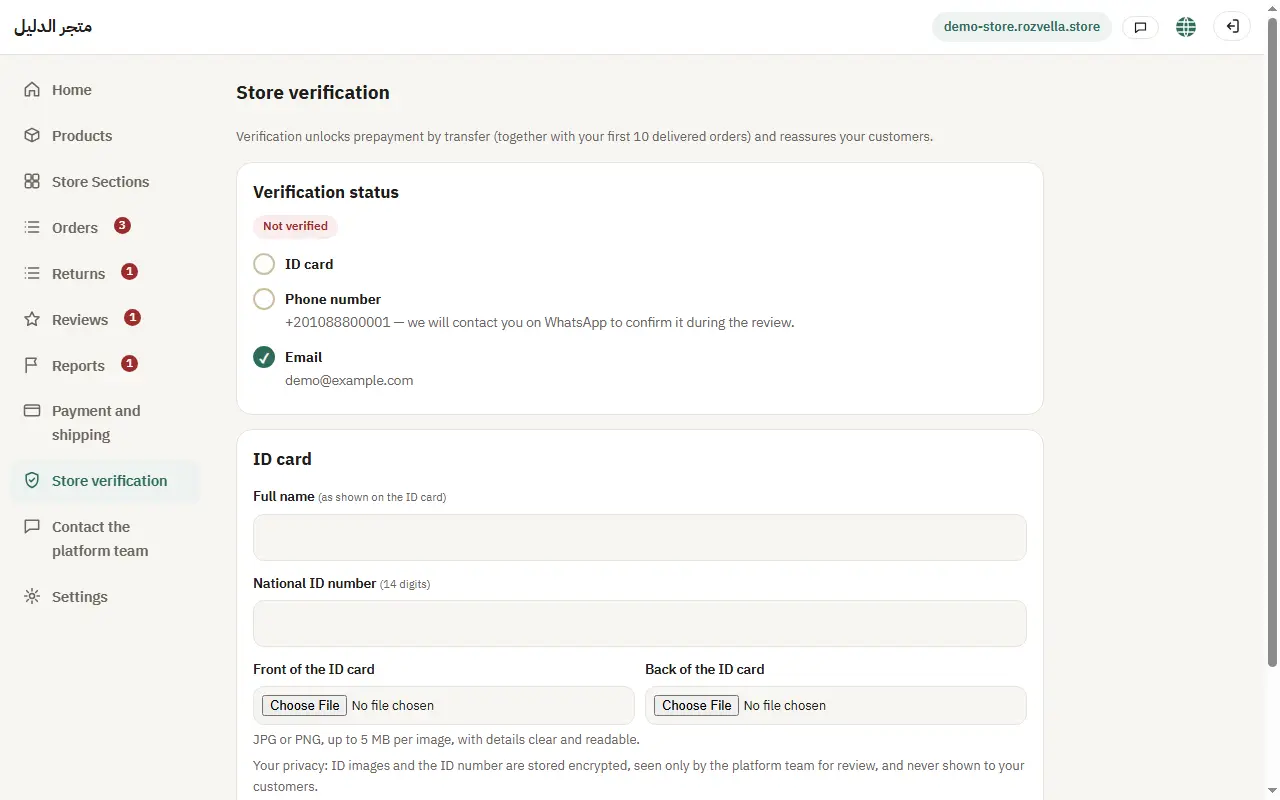
2Send your ID details
Where?Store verification›Submit verification request
Enter your name as on the card and its number, upload the “Front of the card” and “Back of the card”, then press “Send verification request”.
Picture from a demo dashboard
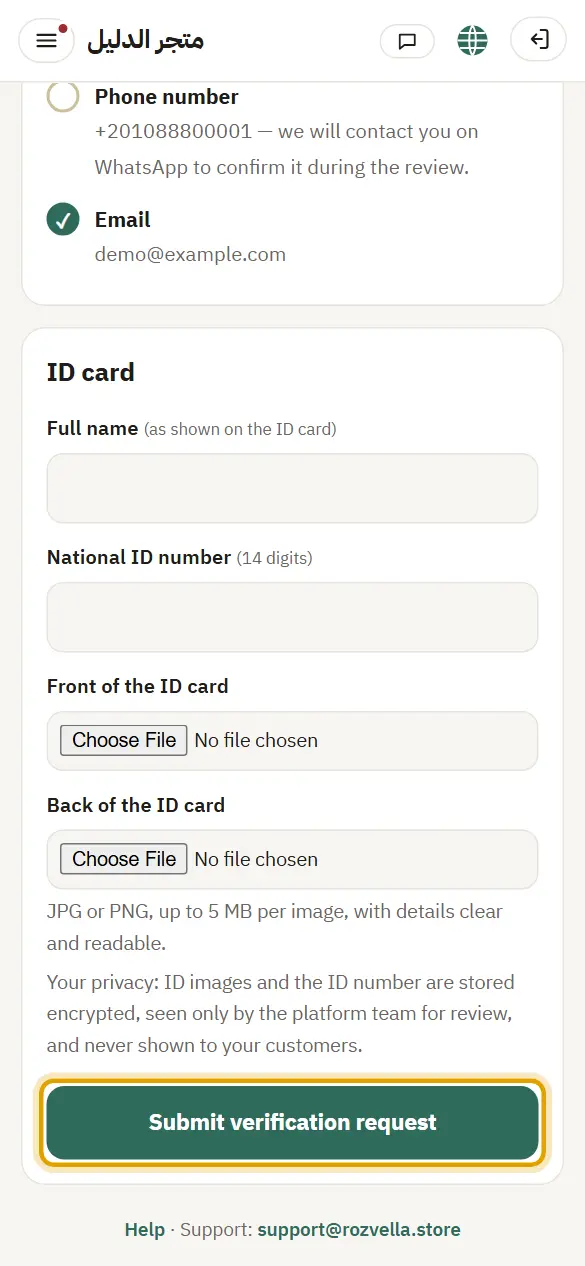
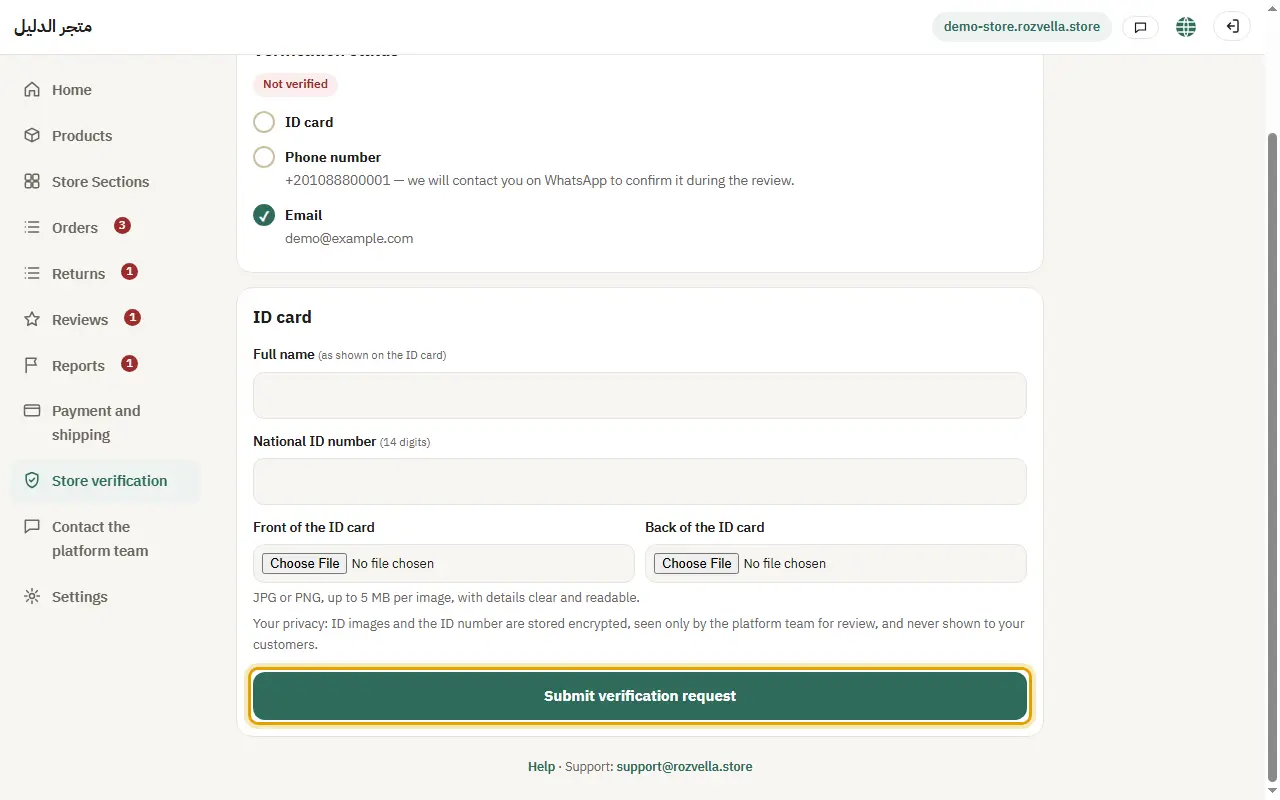
What happens?The status becomes “Under review”, and the team reviews your ID and phone.
Common problems and fixes“Upload the front and back of the card”
Both photos are required. Take them clearly in good light.
“Card photos must be JPG or PNG”
Take the photos with your phone camera and upload them as they are.
3If the request is rejected
Where?Store verification›Resubmit
The reason shows in “Store verification”. Correct the details or photos, then press “Resend”.
Picture from a demo dashboard
What happens?The request goes back to “Under review”.
4After approval
You don't need to do anything.
What happens?The status becomes “Verified ✓”, the “Verified store” badge appears in your store, and the first prepayment condition is met.